Authenticate (Multi-User Setup)
By default, most of the instructions for self-hosting Khoj assume a single user, and so the default configuration is to run in anonymous mode. However, if you want to enable authentication, you can do so either with with Magic Links or Google OAuth as shown below. This can be helpful to make Khoj securely accessible to you and your team.
Remove the --anonymous-mode flag from your khoj start up command or docker-compose file to enable authentication.
Using Magic Links
The most secure way to do this is to integrate with Resend.
- Setup your account at https://resend.com
- Set an environment variable for
RESEND_API_KEY. You can get your API key here. - Set an environment variable for
RESEND_EMAIL. This is the email address that will show up in yourfromfield when sending magic links.
This will allow you to automatically send sign-in links to users who want to log in.
It's still possible to use the magic links feature without Resend, but you'll need to manually send the magic links to users who want to log in.
Manually sending magic links
-
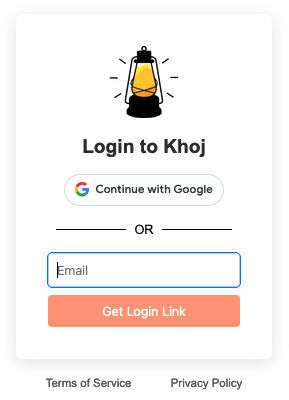
The user will have to enter their email address in the login popup shown at http://localhost:42110/?v=app.
They'll click
Get Login Link. Without the Resend API key, this will just create an unverified account for them in the backend
-
You can get their magic link using the admin panel
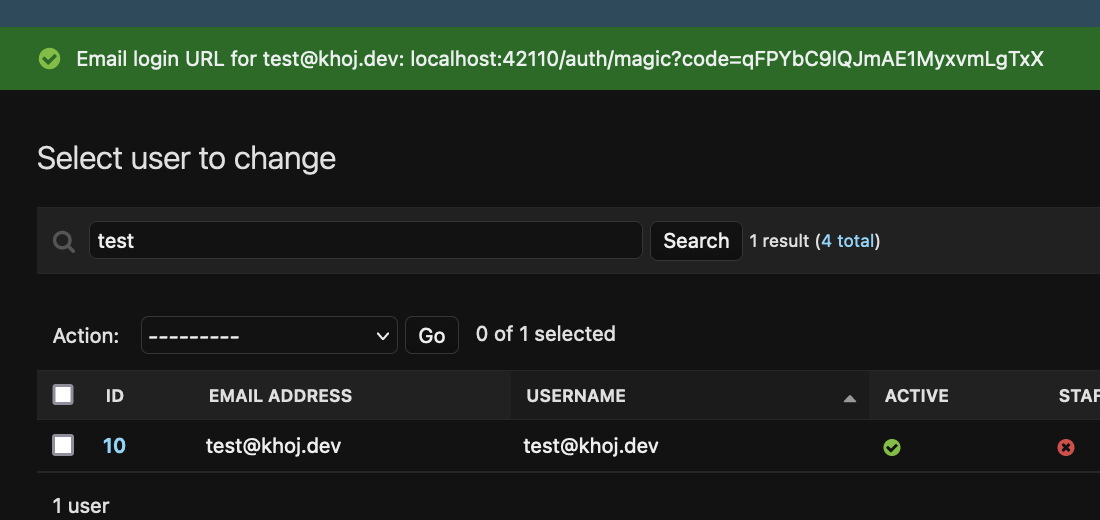
Go to the admin panel. You'll see a list of users. Search for the user you want to send a magic link to. Tick the checkbox next to their row, and use the action drop down at the top to 'Get email login URL'. This will generate a magic link that you can send to the user, which will appear at the top of the admin interface.
Get email login URL Retrieved login URL 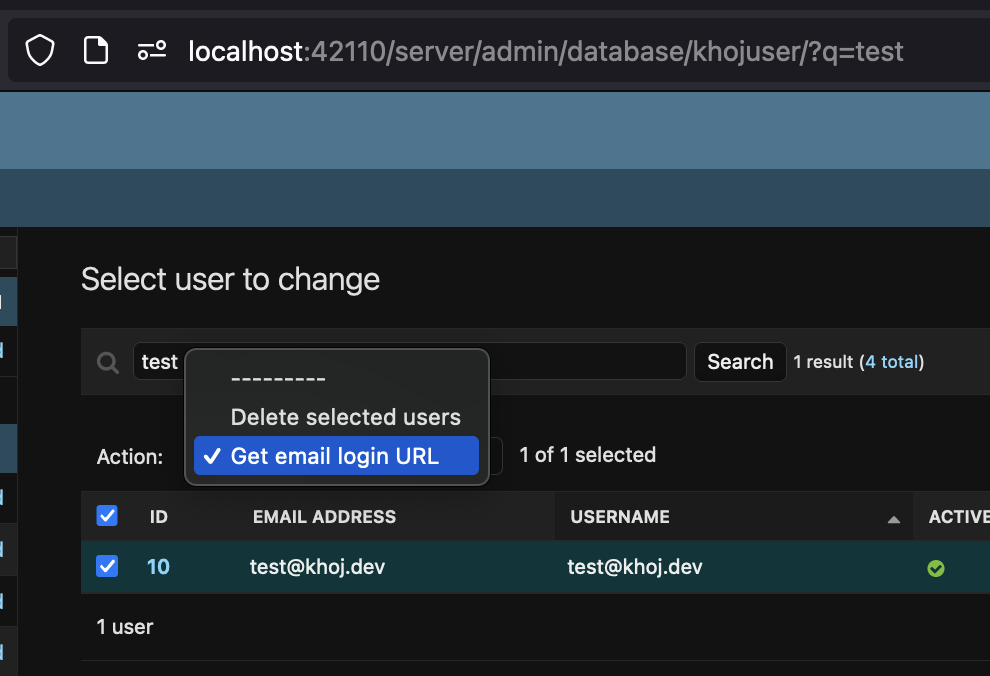
-
Send the magic link to the user. They can click on it to log in.
Once they click on the link, they'll automatically be logged in. They'll have to repeat this process for every new device they want to log in from, but they shouldn't have to repeat it on the same device.
A given magic link can only be used once. If the user tries to use it again, they'll be redirected to the login page to get a new magic link.
Using Google OAuth
For this method, you'll need to use the prod version of the Khoj package. You can install it as below:
- Docker
- Pip
Update your docker-compose.yml to use the prod image
image: ghcr.io/khoj-ai/khoj-cloud:latest
pip install khoj[prod]
To set up your self-hosted Khoj with Google Auth, you need to create a project in the Google Cloud Console and enable the Google Auth API.
To implement this, you'll need to:
-
Create authorization credentials for your application.
-
Open your Google cloud console and create a configuration like below for the relevant
OAuth 2.0 Client IDsproject: -
Configure these environment variables:
GOOGLE_CLIENT_SECRET, andGOOGLE_CLIENT_ID. You can find these values in the Google cloud console, in the same place where you configured the authorized origins and redirect URIs.
That's it! That should be all you have to do. Now, when you reload Khoj without --anonymous-mode, you should be able to use your Google account to sign in.